ipinnedit

My blog details all the fantastic "pins" I've actually made! Enjoy!

Reporting VS Tattling Poster June 28, 2012

Oh how I despise tattling and my daughters do a lot of it, even my 22 month old!  I saw a Pinterest pin of a “Reporting vs Tattling” poster.  The link took me to a first grade teacher’s website.  She had written out difference between reporting and tattling.  Since my daughter can’t read yet, I decided to add clipart to my poster so she could understand the differences.  I included a link to my Reporting VS Tattling poster in case anyone wants a copy of my work!


I introduced it to Sophie and hung it on the side of our kitchen desk.  I faced the poster toward our family room, the place where most of the tattling occurs!  Sophie seemed to like the poster until I hung it up and told her it would be there for a long time.  She started to cry.  We will see how it goes!


Mrs. Tehune’s Poster:


My Poster:


Pinterest Pin: http://pinterest.com/pin/40391727878632299/

Inspiration: http://mrsterhune.blogspot.com.au/search?updated-max=2012-03-03T20:57:00-06:00&max-results=10  (you will have to scroll down to the bottom to see her image).

Time:  One hour to find the images and 10 minutes to put together the word document.


– Lisa


Paper Plate and Clothespin Rainbows April 24, 2012

This was a super cute and fun project for my 4-year old.  She could handle every step of this project and she really enjoyed it! I think this might be a project we will do during my daughter’s Rainbow/Candy Land themed birthday party!


Supplies

1.) Paper plate

2.) Clothespins

3.) Yellow Paint

4.) Paint brush

5.) Construction Paper

6.) Scissors

7.) Glue

8.) Googly eyes

9.) Marker


Steps

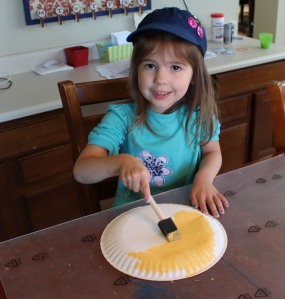
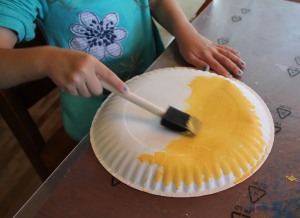
1.)  Paint the outside of a paper plate yellow.


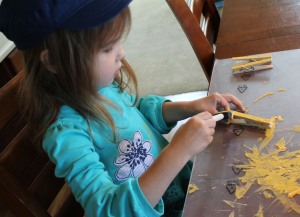
2.) Paint both sides of the clothespins yellow.


3.)  Cut two stripes of construction paper for each color of the rainbow.  Sophie wanted to substitute pink for red!


4.)  Once the paper plate is dry, fold it in half.


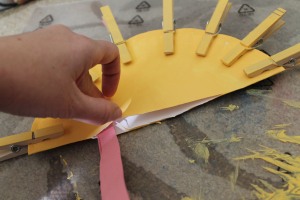
5.)  Unfold the paper plate, and cut a slit in the plate on the fold line.  Cut the slit to give you just enough room to glue in the construction paper.


6.)  Refold the plate.


7.)  Pin the clothespins around the plate.


8.)  To get a curly look to the construction paper, we wrapped each piece around a pencil and held it for a few seconds.


9.)  Glue the two pieces of each color together at the top only.  Then, glue inside the plate.


10.) Repeat for each color.


11.)  Finish off the project by adding googly eyes and drawing on a face.  We punched a hole at the top and threaded yarn and hung it from a light fixture above or dining room table.


Here is the face Sophie drew …


And on the other side, I drew a  face …


Pinterest Pinhttp://alittledelightful.blogspot.com/2011/07/craft-days.html

Link to Projecthttp://alittledelightful.blogspot.com/2011/07/craft-days.html

Substitutions:  The original pin looks like they used something other than construction paper.  I used construction paper because that is what I had.  I could see using streamers, ribbon, curling ribbon, etc.

Time:  We painted the plate one evening and finished the project the next morning.  It is a pretty quick project if you don’t count the drying time.


I submitted this project to “Made by you Monday” at Skip to My Lou!  Mine is #430!

Linked up to Six Sister’s Stuff (#261) on 5/12/12.